Travel Photography Tips for Women: How to Shoot Like a Pro
 Aug, 17 2026
There is a specific frustration that hits many women when they return from a trip with hundreds of photos but only a handful of keepers. You wanted the shot that made you feel like you were part of the landscape, not just standing awkwardly in front of it. The difference between a snapshot and a professional-looking image often comes down to understanding light, composition, and how to manage your gear without feeling overwhelmed. This guide cuts through the noise to give you practical, actionable advice on travel photography techniques that work specifically for solo or small-group travelers who want high-quality results without carrying a studio's worth of equipment.
Mastering Natural Light and Golden Hour
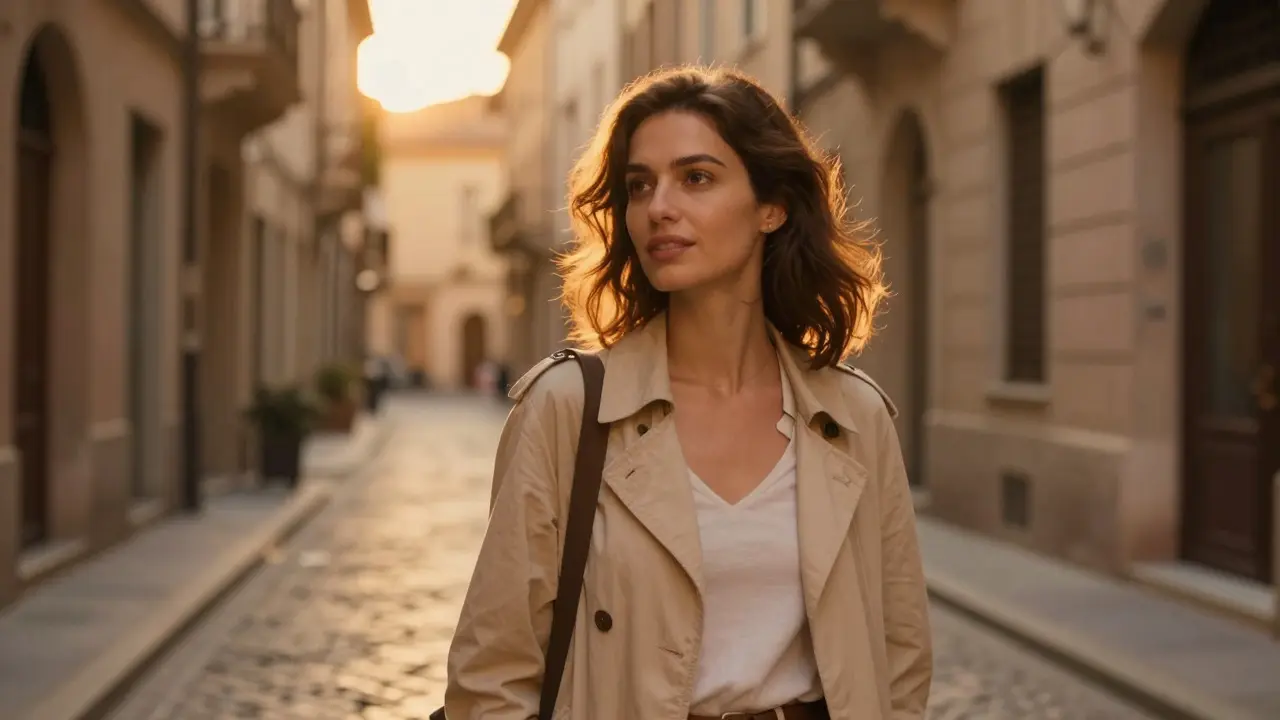
Light is the most critical element in any photograph, and mastering it requires less technical knowledge than most people think. The "golden hour" refers to the first hour after sunrise and the last hour before sunset. During these windows, the sun is low in the sky, creating soft, warm light that flatters skin tones and reduces harsh shadows under the eyes. If you are shooting portraits of yourself or friends, position the subject so the light hits their face directly. Avoid the midday sun unless you are in deep shade; direct overhead light creates unflattering "raccoon eyes" and washes out colors.
When the light is harsh, look for open shade. This means being in the shadow of a building or tree while facing an open area that reflects light back onto you. This technique provides even illumination without the need for expensive reflectors. Check your camera’s histogram if available, or simply ensure that the brightest parts of your image (like the sky) aren't pure white. If they are, you have lost detail in the highlights. Adjust your exposure compensation dial to darken the scene slightly, preserving those details for later editing.
Composition Rules That Actually Work
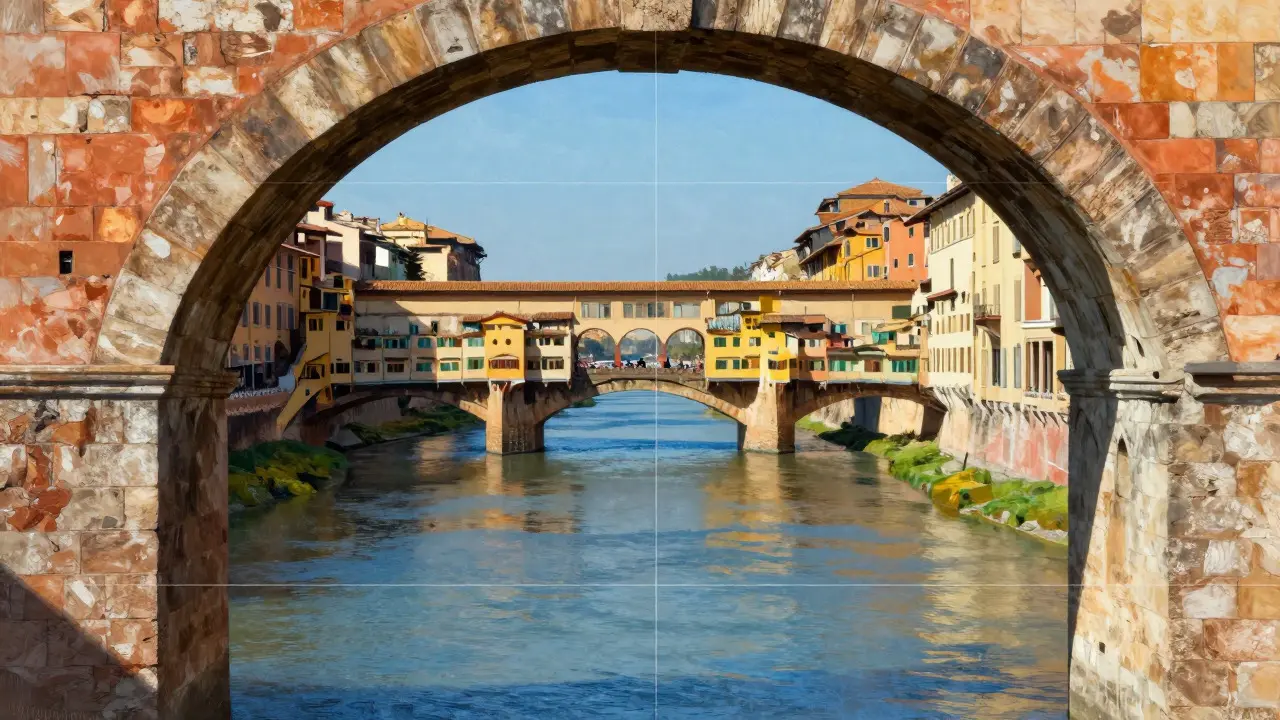
You don't need to memorize complex geometric theories to take better photos. Start with the Rule of Thirds. Imagine your viewfinder is divided into a nine-square grid. Place your main subject along these lines or at the intersections rather than dead center. For example, if you are photographing a person against a city skyline, place them on the left or right vertical line. This creates visual tension and interest.
- Leading Lines: Use roads, rivers, or architectural edges to guide the viewer's eye toward your subject.
- Framing: Shoot through doorways, arches, or foliage to create a natural frame around the subject.
- Negative Space: Leave empty space (sky, wall, water) around your subject to let the image breathe. Don't clutter the frame.
Break these rules intentionally once you understand them. A centered portrait can be powerful if the background is symmetrical or minimal. However, consistency in your style matters more than strict adherence to rules. Pick two or three compositional tools and use them repeatedly until they become second nature.
Gear Selection: Less Is More
One of the biggest mistakes new travel photographers make is bringing too much gear. Heavy bags discourage movement and limit where you can go. For most travelers, a compact mirrorless camera or a high-end smartphone is sufficient. If you choose a dedicated camera, prioritize weight and weather sealing over megapixel count. A 24-70mm equivalent zoom lens covers wide landscapes and tight portraits without requiring you to change lenses constantly, which saves time and protects your sensor from dust.
Option
Pros
Cons
Best For
Mirrorless Camera
High quality, interchangeable lenses, manual control
Bulkier, higher cost, learning curve
Serious hobbyists, mixed lighting conditions
Smartphone
Always with you, instant sharing, AI processing
Limited dynamic range, smaller sensors
Casual travel, social media content, quick snapshots
Point-and-Shoot
Compact, automatic modes, good battery life
Limited creative control, fixed lens
Minimalist travelers, low-light situations
If you stick with a smartphone, invest in a clip-on lens kit. A wide-angle attachment helps capture expansive landscapes, while a macro lens allows for detailed shots of textures and flowers. Always carry a portable power bank. Travel drains batteries quickly, especially in cold climates, and having a backup ensures you never miss a moment because your device died.
Safety and Practical Considerations for Solo Travelers
Photography can sometimes draw unwanted attention, particularly for women traveling alone. While most places are safe, awareness is key. Keep your camera strap short and tucked close to your body to prevent snatching. In crowded tourist areas, avoid holding up your camera for long periods; instead, take the shot and put it away. Blend in with locals by wearing comfortable, local-appropriate clothing rather than bright tourist gear. This makes you less conspicuous and often leads to more authentic interactions with subjects.
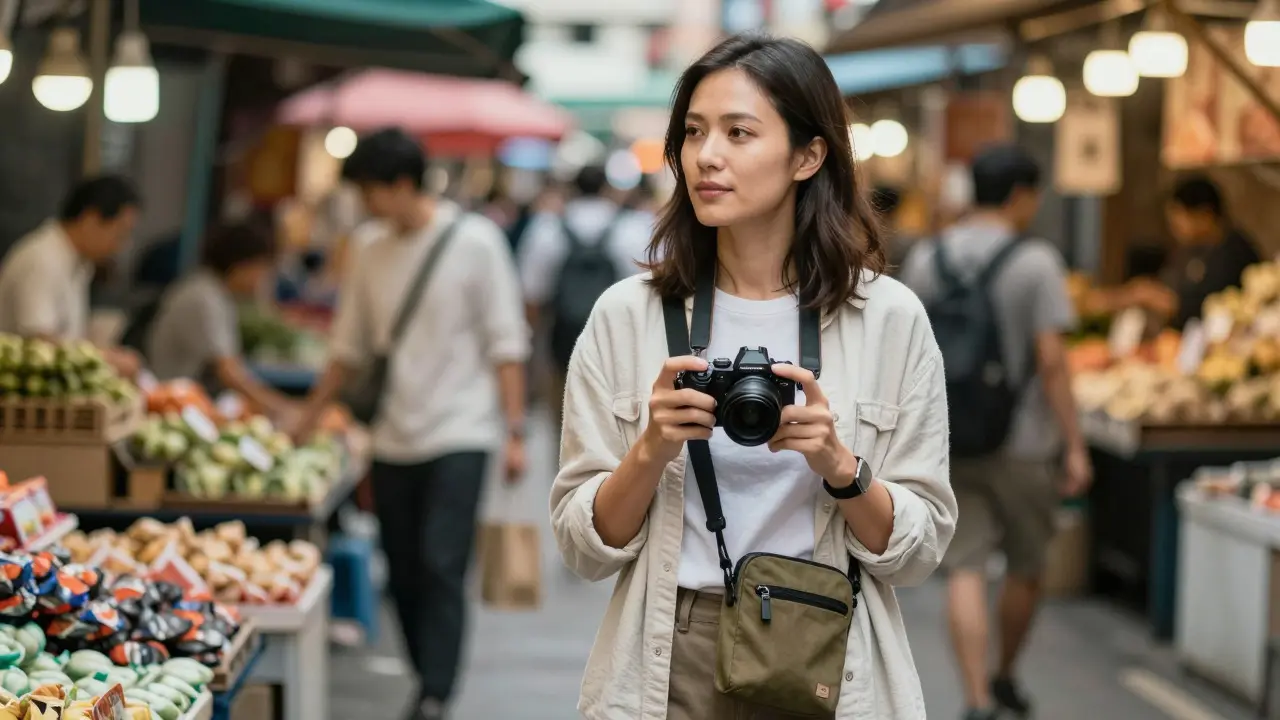
When shooting street portraits, always ask for permission. A simple smile and nod usually suffice, but verbal consent builds trust. Carry a small notebook or use your phone notes app to record names and contact info if you plan to share images publicly. Respect cultural norms regarding photography; some temples or markets may prohibit flash or require a fee. Checking local customs before you arrive prevents awkward confrontations and shows respect for the community you are visiting.
Post-Processing: Enhancing, Not Fixing
Editing is where the magic happens, but the goal is enhancement, not manipulation. Use software like Lightroom Mobile or VSCO for quick edits on the go. Start with basic adjustments: exposure, contrast, and white balance. White balance is crucial for travel photos because different light sources cast different color temperatures. Tungsten lights are orange, while shade is blue. Correcting this early makes the rest of the edit smoother.
Avoid heavy filters that make every photo look the same. Instead, develop a consistent color palette that matches your personal style. Whether you prefer muted earth tones or vibrant saturated colors, consistency across your portfolio makes your work recognizable.
Building Your Travel Photo Portfolio
Your photos tell a story. Don't just collect random images; curate them. After each trip, select your top 10-15 shots. These should represent the essence of the location, the people you met, and the feelings you experienced. Create a digital album or a simple website to host these images. Sharing your work online invites feedback and connects you with other travelers and photographers. Engage with communities on platforms like Instagram or Flickr, but focus on quality over quantity. One stunning image of a local market vendor will resonate more than fifty blurry shots of landmarks.
Do I need a professional camera for travel photography?
No. A modern smartphone with good lighting skills can produce excellent results. However, a mirrorless camera offers more control over depth of field and low-light performance, which is beneficial for serious enthusiasts.
What is the best time of day to take photos?
The golden hours-shortly after sunrise and shortly before sunset-provide the softest and most flattering light. Midday light is harsh and creates strong shadows, making it difficult to capture detailed portraits.
How do I avoid looking awkward in my own travel photos?
Use a tripod or lean your camera against a stable object. Take multiple shots and vary your pose. Look away from the camera initially to appear candid, then glance back. Focus on capturing moments of action or interaction rather than static poses.
Is it rude to take photos of strangers?
It depends on context. In public spaces, it is generally acceptable, but asking for permission is polite and often yields better cooperation. Be mindful of cultural differences and avoid using flash in indoor religious or private settings.
What apps are best for editing travel photos?
Lightroom Mobile offers professional-grade controls for free. VSCO is popular for its aesthetic presets. Snapseed is excellent for precise spot removal and selective adjustments. All three are available on iOS and Android.