Mastering Roasting, Braising, and Searing: Essential Cooking Techniques for Home Chefs
 Aug, 16 2026
There is a specific kind of confidence that comes from walking into your kitchen knowing exactly how heat interacts with food. You don't need to be a professional chef to achieve restaurant-quality results; you just need to understand the physics behind three fundamental methods: roasting, braising, and searing. These are not just recipes; they are tools. Once you grasp how dry heat caramelizes sugars in a roast chicken or how low-and-slow liquid tenderizes a tough cut of beef, you stop relying on instructions and start creating meals.
Many home cooks feel stuck in a loop of same-day dinners or complicated multi-step recipes. The solution isn't buying more gadgets. It is mastering these three pillars of thermal cooking. They cover almost every protein and vegetable you will ever cook. Let’s break down exactly how each technique works, when to use it, and the common mistakes that ruin good ingredients.
The Science of Dry Heat: Why Roasting Works
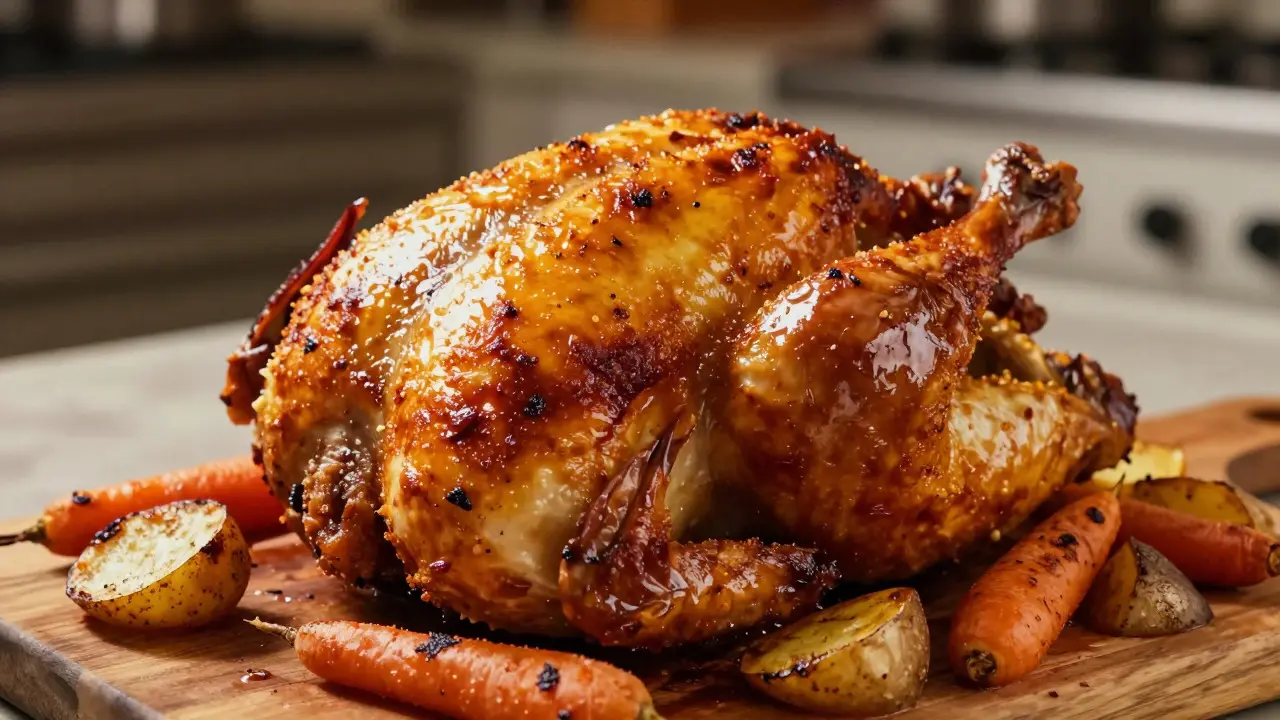
Roasting is a dry-heat cooking method that uses hot air to brown the exterior of food while cooking it through via convection. Think of it as baking, but at higher temperatures designed to create flavor rather than just cook. The magic here is the Maillard reaction. This is the chemical process where amino acids and reducing sugars react under heat to produce hundreds of new flavor compounds. That deep, savory crust on a piece of pork or the crispy skin of a duck? That is the Maillard reaction at work.
To master roasting, you need to manage two variables: temperature and airflow. Most ovens run between 350°F and 450°F (175°C to 230°C). Lower temperatures are better for large cuts of meat where you want even cooking without burning the outside. Higher temperatures are ideal for vegetables and smaller proteins where you want aggressive browning. Airflow is critical. If you crowd your roasting pan, steam builds up, and your food steams instead of roasts. Leave space between pieces so the hot air can circulate freely.
A practical rule of thumb for whole chickens or turkeys is to start high and finish low. Preheat your oven to 450°F (230°C) and roast the bird for 15 minutes to set the skin. Then, drop the temperature to 350°F (175°C) and continue cooking until the internal temperature reaches 165°F (74°C) in the thickest part of the thigh. This two-stage approach ensures crisp skin without drying out the breast meat.
Braising: The Art of Tenderizing Tough Cuts
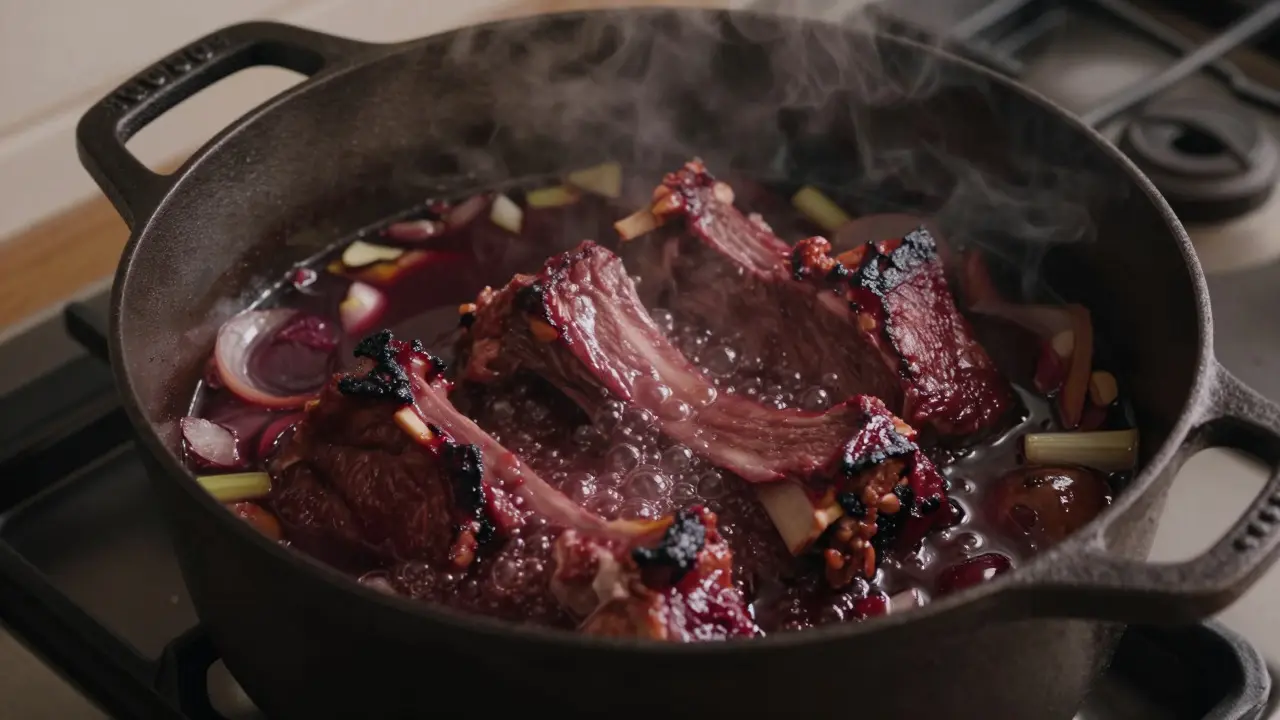
If roasting is about creating texture and crust, Braising is a moist-heat method that combines searing and slow simmering in liquid to break down connective tissues in tough meats. Braising is the secret weapon for cuts like chuck roast, short ribs, shanks, and even dense vegetables like kale or cabbage. These ingredients have a lot of collagen. When cooked quickly, collagen remains tough and chewy. But when heated slowly in liquid, collagen converts into gelatin, giving the meat its signature fall-apart tenderness.
The process always follows a strict order. First, you must sear the meat. This step creates flavor and locks in juices (though technically it doesn't lock them in, it does add depth). Second, you build a base with aromatics like onions, garlic, carrots, and celery. Third, you add enough liquid-broth, wine, or water-to come about halfway up the side of the meat. Not more. If you submerge the meat completely, you are boiling it, which makes it gray and stringy. You want the exposed surface to dry out slightly and form a glaze while the submerged part cooks gently.
Cover the pot tightly with a lid and transfer it to the oven. Braising happens best at a low temperature, usually around 325°F (160°C). This gentle heat allows the collagen to break down over several hours without tearing the muscle fibers apart. Check for doneness by piercing the meat with a fork. It should slide in with little to no resistance. A classic pot roast takes four to six hours, depending on the size of the cut. Patience is the most important ingredient here.
Searing: Creating Flavor in Minutes
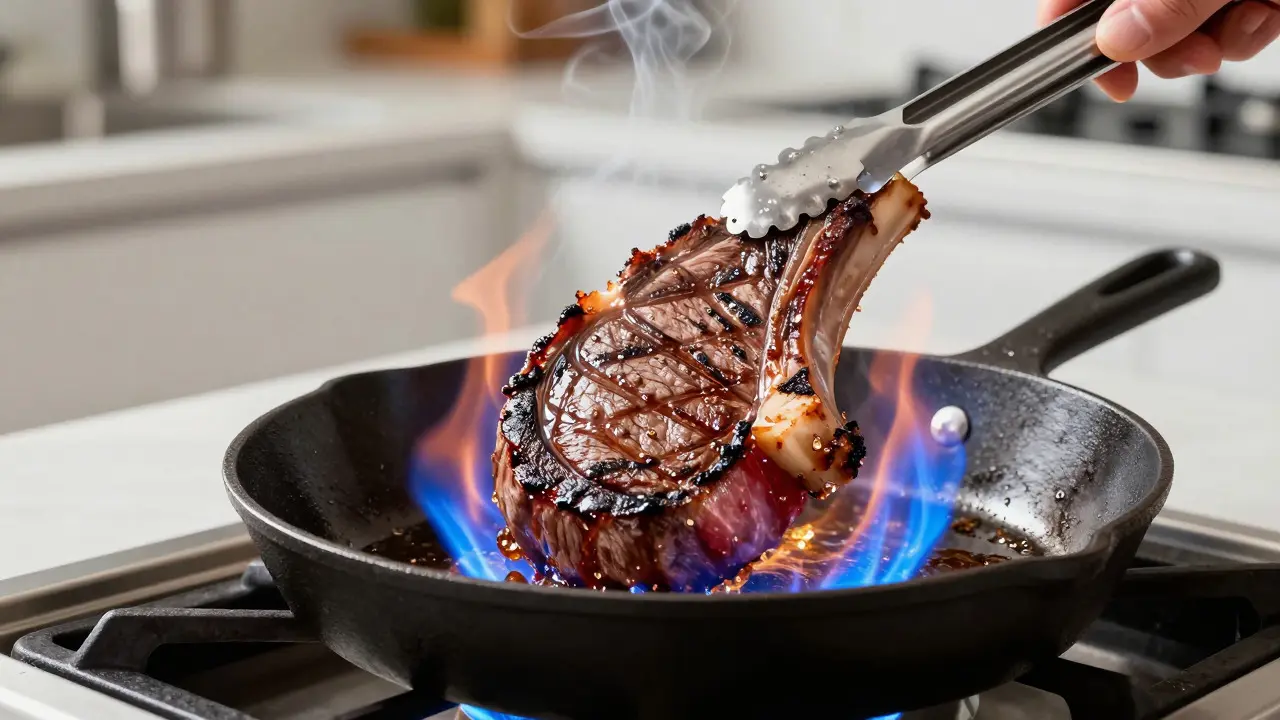
Searing is a high-heat surface cooking technique used to brown the exterior of food rapidly, developing complex flavors through the Maillard reaction. Unlike roasting, which surrounds the food with heat, searing applies intense direct heat to one side at a time. It is fast, dramatic, and essential for steaks, chops, fish fillets, and tofu. The goal is not to cook the food through, but to create that flavorful, crispy crust that defines a well-prepared dish.
The biggest mistake people make with searing is adding food to a pan that isn't hot enough. If the pan isn't screaming hot, the moisture on the surface of the meat boils off slowly, preventing browning. Instead, the meat steams in its own juices and turns pale. To avoid this, preheat your heavy-bottomed skillet or cast iron pan on medium-high heat for five minutes. Add a high-smoke-point oil like avocado or grapeseed oil. Wait until the oil shimmers and starts to smoke slightly before adding the protein.
Patience is key during the actual searing process. Place the meat in the pan and do not touch it. Resist the urge to move it around. Let it sit undisturbed for three to five minutes until a deep golden-brown crust forms. You should be able to lift the edge easily once it has released from the metal. Flip once. That’s it. No flipping back and forth. Each flip interrupts the browning process. After searing both sides, you can finish cooking in the oven if the cut is thick, or rest the meat immediately if it is thin.
Choosing the Right Technique for Your Ingredient
Knowing when to use which method saves time and prevents ruined dinner plans. The choice depends entirely on the structure of the ingredient. Lean, tender cuts like filet mignon, salmon fillets, or chicken breasts respond best to high-heat, quick-cooking methods like searing or grilling. These cuts lack fat and connective tissue, so prolonged cooking dries them out. Give them a quick sear, rest them, and serve.
Fatty, tough cuts like brisket, short ribs, or pork shoulder require low and slow heat. These are braising candidates. The fat renders down, and the collagen breaks down, resulting in rich, succulent meat. Roasting is the middle ground. It works well for moderate-toughness cuts like chicken thighs, pork loin, or lamb chops. It also excels with vegetables. Root vegetables like potatoes, carrots, and parsnips benefit from the dry heat of roasting because their natural sugars caramelize beautifully, adding sweetness and texture.
| Technique | Heat Type | Temperature Range | Best For | Key Outcome |
|---|---|---|---|---|
| Roasting | Dry Heat | 350°F - 450°F (175°C - 230°C) | Whole poultry, root vegetables, larger cuts of meat | Crispy exterior, even internal cooking |
| Braising | Moist Heat | 300°F - 350°F (150°C - 175°C) | Tough cuts, short ribs, shanks, dense vegetables | Fall-apart tenderness, rich sauce |
| Searing | Direct High Heat | 400°F+ (200°C+) surface temp | Steaks, chops, fish fillets, tofu | Flavorful crust, quick cooking |
Common Pitfalls and How to Avoid Them
Even when you know the theory, small errors can derail a dish. Here are the most frequent issues I see in home kitchens and how to fix them.
- Oven Hot Spots: Most home ovens have uneven heat distribution. Use an oven thermometer to verify the actual temperature. Rotate your roasting pan halfway through cooking to ensure even browning.
- Under-Searing: If your meat looks pink instead of brown after searing, the pan wasn't hot enough or you moved the meat too soon. Clean the pan thoroughly before reheating it for the next batch.
- Over-Braising: While braised meat is forgiving, leaving it in the liquid for too long can cause the fibers to pull apart completely, turning the meat into mush. Check for doneness starting at the minimum recommended time.
- Lack of Resting Time: Whether you roast, braise, or sear, always let the meat rest. For a steak, wait five minutes. For a roast chicken, wait ten to fifteen. This allows the juices to redistribute throughout the meat instead of spilling out onto your cutting board.
Equipment You Actually Need
You don’t need a $500 induction range to master these techniques. Three items make all the difference.
- A Heavy-Bottomed Skillet: Cast iron or stainless steel with a thick base holds heat evenly. This is crucial for consistent searing. Avoid non-stick pans for high-heat searing as they can degrade and don't hold heat as well.
- A Dutch Oven: This is the holy grail for braising. Its thick walls retain heat, and the tight-fitting lid traps moisture. It works on the stovetop for searing and in the oven for braising.
- A Meat Thermometer: Guessing doneness is risky. A digital instant-read thermometer costs less than $20 and gives you precise internal temperatures. This is the single most valuable tool for ensuring safety and quality in roasting and braising.
Putting It All Together: A Practical Example
Let’s apply these concepts to a simple Sunday dinner. Imagine you have a pack of bone-in chicken thighs and some baby potatoes. You want a meal that requires minimal active time but delivers maximum flavor.
Start by preheating your oven to 425°F (220°C). Toss the potatoes with olive oil, salt, pepper, and rosemary. Spread them on a rimmed baking sheet. Now, take your chicken thighs. Pat them dry with paper towels-this is non-negotiable for crispy skin. Season generously with salt and pepper. In a cast iron skillet on the stovetop, heat a tablespoon of oil until shimmering. Sear the chicken skin-side down for five minutes until deeply golden. Flip and sear the other side for two minutes. You don’t need to cook them through yet.
Transfer the chicken to the baking sheet with the potatoes, placing the thighs on top of the potatoes. Roast everything together for 20 to 25 minutes. The hot drippings from the chicken will baste the potatoes, infusing them with savory flavor. The dry heat of the oven will finish cooking the chicken and crisp the skin further. Pull the tray when the chicken registers 165°F (74°C) internally. Rest for five minutes. Serve. Total active time: 15 minutes. Total hands-off time: 30 minutes. Result: Restaurant-level comfort food.
Frequently Asked Questions
What is the main difference between roasting and baking?
While the equipment is the same, the intent differs. Baking typically refers to making goods like bread, cakes, or pastries using lower temperatures and leavening agents. Roasting refers to cooking meats or vegetables at higher temperatures to brown the exterior and develop savory flavors. However, the lines blur, and many recipes use the terms interchangeably for certain dishes like roasted vegetables.
Do I need to sear meat before braising it?
Yes, searing before braising is highly recommended. It creates a flavorful crust through the Maillard reaction and adds depth to the final braising liquid. While it doesn't strictly "lock in" juices, it enhances the overall taste profile significantly compared to simply dropping raw meat into liquid.
Why is my seared meat not browning?
The most common reasons are a pan that isn't hot enough, overcrowding the pan, or wet meat. Ensure your pan is preheated properly, leave space between pieces to allow evaporation, and pat the meat completely dry with paper towels before adding it to the heat source.
Can I braise vegetables?
Absolutely. Dense vegetables like cabbage, kale, chard, and root vegetables braise beautifully. The slow, moist heat breaks down their fibrous structure, making them tender and sweet. This technique is particularly popular in European cuisines for winter vegetables.
How long should I rest a roasted chicken?
A whole roasted chicken should rest for at least 10 to 15 minutes after coming out of the oven. Cover it loosely with foil to keep it warm but allow steam to escape. This resting period allows the muscle fibers to relax and reabsorb the juices that were pushed to the center during cooking, resulting in moister meat when carved.