Grilling for Beginners: A Woman’s Guide to Flame and Flavor
 Sep, 27 2026
There is a persistent myth that grilling is exclusively a man’s domain, a sacred ritual reserved for those who think tongs are an extension of their hand. But let’s be honest: if you’re standing in your backyard holding a pair of spatulas like they’re foreign objects, wondering why your chicken tastes like charcoal briquettes, you aren’t alone. Grilling isn’t about masculine posturing; it’s about chemistry, heat management, and respecting the fire. Whether you are hosting a casual summer barbecue or trying to break out of the dinner rut with some smoky flavor, mastering the grill changes how you eat.
This guide cuts through the intimidation factor. We aren’t talking about competitive brisket smoking where you wake up at 3 AM to check temperatures. We are talking about getting delicious, juicy food off a hot grate without burning down your patio or serving dry, blackened meat. It starts with understanding what happens when protein meets flame and ends with confidence in your own kitchen skills.
Decoding the Fire: Gas vs. Charcoal
The first hurdle is choosing your weapon. Most beginners default to gas grills because they offer convenience. You turn a knob, wait ten minutes, and cook. It’s predictable. But many people feel their food lacks that authentic "grilled" taste. That’s because gas burns clean, producing mostly carbon dioxide and water vapor. It doesn’t impart much flavor on its own.
Charcoal grills, specifically kettle models like the classic Weber, rely on combustion byproducts. When fat drips onto hot coals, it vaporizes into smoke, which rises back up and coats the food. This process, known as the Maillard reaction combined with smoke absorption, creates complex flavors that gas simply can’t replicate without accessories like smoker boxes. If you want flavor, charcoal wins. If you want speed and ease, gas wins. For a beginner, a hybrid approach often works best: use gas for weeknight dinners and charcoal for weekend gatherings when you have time to manage the fire.
| Feature | Gas Grill | Charcoal Grill |
|---|---|---|
| Startup Time | 10-15 minutes | 20-30 minutes (plus cooling) |
| Flavor Profile | Clean, neutral | Smoky, robust |
| Temperature Control | Precise knobs | Air vents and coal placement |
| Maintenance | Low (grease trap) | High (ash cleanup) |
| Cost | Higher upfront, lower fuel cost | Lower upfront, recurring bag costs |
Mastering Heat Zones
Here is the biggest mistake beginners make: putting everything over direct high heat. Imagine cooking a steak and a delicate fish fillet on the same setting. One will burn before the other is warm. The secret to professional results is creating heat zones.
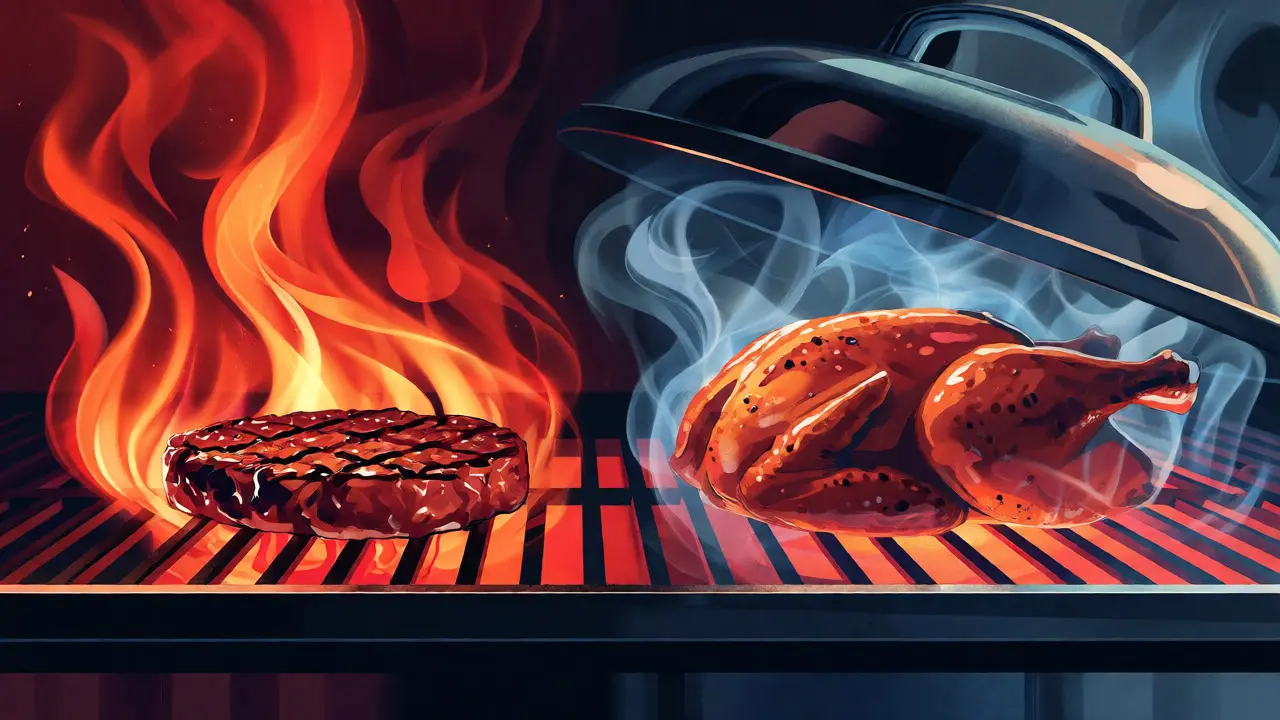
On a charcoal grill, pile all your coals on one side of the bottom grate. This creates two distinct areas: a direct heat zone for searing and a indirect heat zone for gentle cooking. On a gas grill, light only half your burners. This setup allows you to sear a burger patty over the flames for crust, then move it to the cooler side to finish cooking through without charring the outside. Think of it like an oven: direct heat is the broiler, indirect heat is the regular bake setting.
Why does this matter? Because most foods need both. Chicken thighs, pork chops, and thick steaks require time to reach safe internal temperatures. If you keep them over direct fire, the sugar in marinades burns before the center is done. By using zones, you control the outcome. You get the char you crave and the doneness you need.
Safety First: Protecting Yourself and Your Space
Grilling involves open flame, hot metal, and grease. Safety isn’t just about not catching fire; it’s about protecting your skin and clothing. Grease splatter is real. When fat hits hot coals, it can flare up violently. Keep a spray bottle of water nearby to tame small flare-ups, but never pour water directly onto a grease fire, as it can cause steam explosions that spread burning oil.
Dress appropriately. Loose sleeves are dangerous near flames. Tie back long hair. Wear closed-toe shoes-flip-flops are a recipe for burnt toes if a hot skewer falls. Also, consider your location. In Portland, where we value our outdoor spaces, remember that grass and wooden decks are flammable. Always place your grill on a stable, non-combustible surface, at least three feet away from walls, siding, and tree branches.
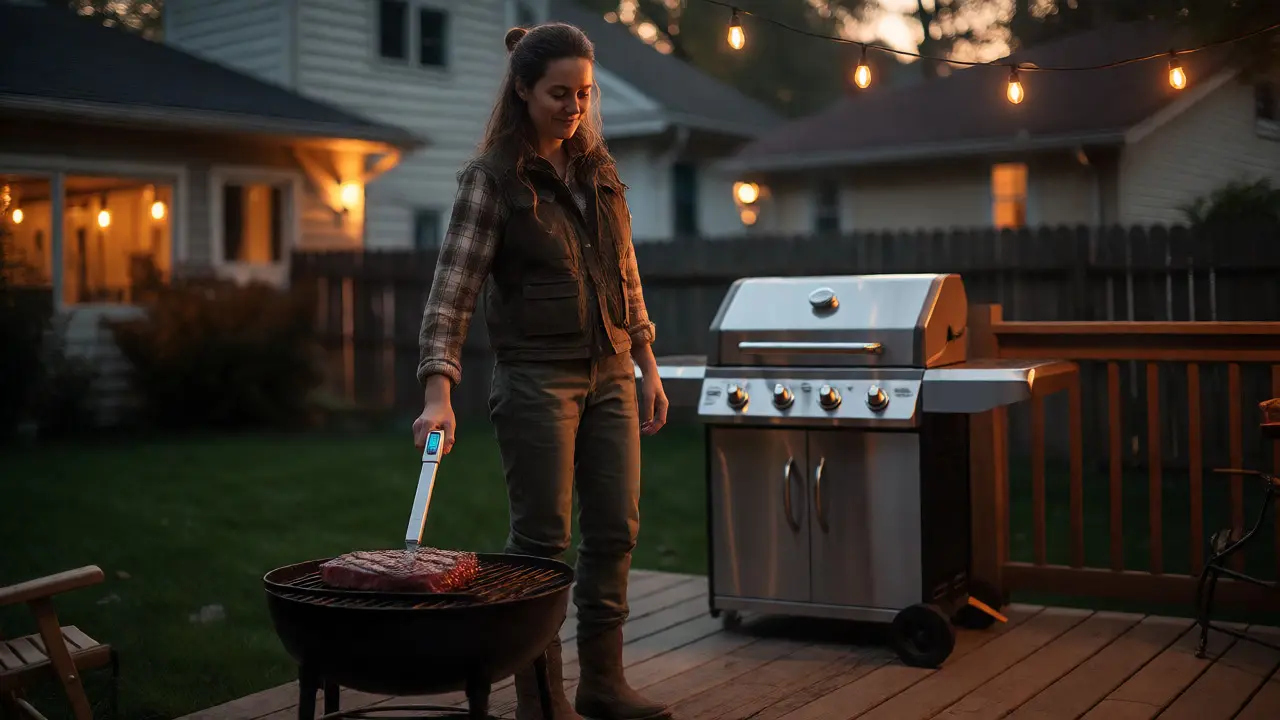
Food safety is equally critical. Cross-contamination is easy to overlook when you’re focused on the fire. Use separate plates for raw and cooked meat. Never put cooked chicken back on the plate that held the raw pieces unless you’ve washed it thoroughly. Invest in a digital instant-read thermometer. Guessing whether chicken is done by cutting into it releases juices and dries out the meat. A thermometer reading of 165°F (74°C) at the thickest part is the only reliable indicator.
Prep Like a Pro: Marinating and Seasoning
You don’t need a complicated rub to make good food. Simplicity often yields the best results. Salt is your best friend. Salting meat 24 hours before grilling (dry brining) draws out moisture, which dissolves the salt and gets reabsorbed, seasoning the meat deeply and helping it retain juice during cooking.
If you prefer wet marinades, watch the sugar content. Marinades with honey, maple syrup, or ketchup burn quickly. Apply sugary glazes only in the last 5-10 minutes of cooking. Before placing food on the grate, ensure it’s dry. Pat proteins with paper towels. Wet food steams instead of sears, preventing that desirable brown crust. Oil the food, not the grate. Brushing olive oil on the meat helps prevent sticking better than oiling cold grates, which can polymerize and create sticky residue.
What to Cook First: Beginner-Friendly Wins
Start with forgiving proteins. Burgers and hot dogs are obvious choices, but try these upgrades:
- Chicken Thighs: Unlike breasts, thighs have more fat and connective tissue, making them nearly impossible to overcook. They stay juicy even if you leave them on the grill too long.
- Vegetables: Zucchini, bell peppers, and corn on the cob take well to high heat. Toss them in oil and salt, and grill them whole or sliced. The char adds sweetness.
- Fish Fillets: Salmon or cod work great if you use a cedar plank or a grill basket. These prevent delicate flesh from falling apart and sticking.
For vegetables, cut them into uniform sizes so they cook evenly. Large chunks of zucchini might take longer than thin slices of pepper. Group similar densities together on the grill.
Troubleshooting Common Disasters
Even pros mess up. Here is how to fix common issues:
- Food Sticking: The grate wasn’t hot enough or dirty. Clean the grate with a brass brush while it’s hot, then oil the food next time.
- Burnt Outside, Raw Inside: You used direct heat for too long. Move the food to the indirect zone and close the lid to let ambient heat cook the interior.
- Flare-Ups: Fat dripping on coals. Move the food temporarily to the indirect zone until the flames die down, then return.
- Lack of Smoke Flavor: Add wood chips to charcoal. Soak hickory or applewood chips in water for 30 minutes, wrap them in foil with holes poked in, and place them on the coals.
Remember, practice builds intuition. You’ll learn to hear when a steak is ready to flip (it releases naturally when a crust forms). You’ll learn to smell when coals are ash-covered and ready. Trust your senses, but verify with a thermometer.
Frequently Asked Questions
Do I really need a thermometer?
Yes, absolutely. Visual cues like color or juice clarity are unreliable, especially for poultry and ground meats. An instant-read thermometer ensures food reaches safe internal temperatures (165°F for chicken, 160°F for ground beef, 145°F for whole cuts of beef/pork) without overcooking. It removes the guesswork and prevents foodborne illness.
How do I keep my grill from rusting?
Clean the grates after every use while they are still warm. Once cool, apply a thin coat of vegetable oil to the grates to create a protective barrier against moisture. If you live in a rainy climate like Portland, store your grill under a cover or in a garage during winter months to prevent oxidation.
Can I grill frozen food?
You can, but it’s tricky. Frozen items release excess water as they thaw on the grill, leading to steaming rather than searing. It also extends cooking time significantly, increasing the risk of the outside burning before the inside is safe. Thaw meat in the refrigerator overnight for best results. Vegetables can often go straight from freezer to grill.
What is the difference between direct and indirect heat?
Direct heat means food is placed directly over the flame or coals, ideal for quick-cooking items like burgers and veggies. Indirect heat means food is placed away from the heat source, with the lid closed, allowing hot air to circulate around the food like an oven. This method is essential for larger cuts like roasts or whole chickens that need longer cooking times without burning.
How often should I clean my grill?
Scrape the grates after every use to remove stuck-on food and grease buildup. Deep clean the interior and exterior monthly during grilling season. Check the grease trap regularly to prevent overflow, which can attract pests or cause fires. Regular maintenance extends the life of your grill and improves flavor by preventing old carbon buildup.