DIY Facial at Home for Women: Step-by-Step Guide, Tools & Timing
 Aug, 17 2026
There is a specific moment when you realize your skin looks dull, tired, or just "off." It’s not necessarily an emergency, but it’s that signal to do something. You don’t need a spa membership or a credit card with infinite limits to fix it. A proper DIY facial at home can reset your complexion in under an hour, provided you have the right sequence and the right tools. Most people skip steps or use products in the wrong order, which leads to irritation rather than results. This guide breaks down exactly how to perform a professional-grade facial in your bathroom, what tools actually matter, and when you should schedule these sessions.
The Core Steps of a Professional-Grade Home Facial
A standard salon facial follows a logical progression: clean, exfoliate, treat, hydrate, and protect. Skipping any of these stages reduces the effectiveness of the next step. For example, applying a serum before removing makeup means the active ingredients are trapped under dirt and oil, doing very little work. Here is the precise order you should follow.
- Double Cleanse: Start with an oil-based cleanser to break down sunscreen, sebum, and waterproof makeup. Follow immediately with a water-based gel or foam cleanser to remove sweat and remaining impurities. This two-step process ensures pores are truly empty.
- Exfoliation: Use a chemical exfoliant (like AHAs or BHAs) or a gentle physical scrub. Chemical exfoliants are generally safer for most skin types as they dissolve dead skin cells without friction. Avoid scrubbing aggressively; let the product do the work.
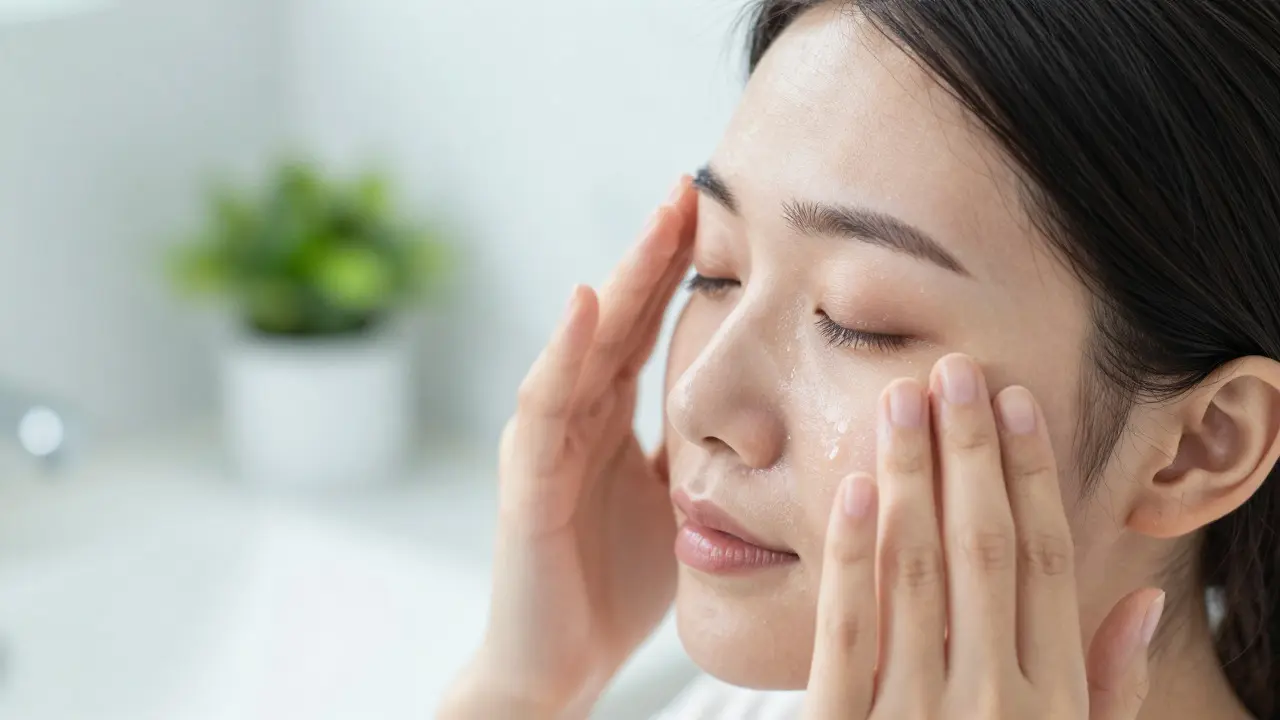
- Facial Massage: This is the step most DIYers skip, but it’s crucial for lymphatic drainage. Using upward and outward strokes, massage your face for five to ten minutes. This helps reduce puffiness and improves circulation, bringing nutrients to the skin surface.
- Mask Application: Apply a sheet mask, clay mask, or cream mask depending on your immediate goal. Hydrating masks use hyaluronic acid; clarifying masks use kaolin or bentonite clay. Leave it on for the recommended time-usually 10 to 15 minutes.
- Serum and Moisturizer: Finish with targeted serums (vitamin C for brightening, retinol for texture) and lock everything in with a moisturizer. If it’s daytime, end with SPF 30 or higher.
Essential Tools and What They Actually Do
You don’t need a cabinet full of gadgets. However, having a few high-quality tools makes the difference between a quick wash and a true treatment. These are the items that provide tangible benefits without breaking the bank.
| Tool | Primary Function | Best For | Frequency |
|---|---|---|---|
| Gua Sha Stone | Lymphatic drainage and muscle relaxation | Puffy eyes, jawline definition | 2-3 times per week |
| Cleansing Brush | Deep pore cleaning and mechanical exfoliation | Oily or acne-prone skin | Daily or every other day |
| Ice Roller | Vasoconstriction and depuffing | Morning routines, sensitive skin | Daily |
| Steam Bowl | Pore opening via heat and humidity | Blackheads, congested skin | Once a week |
The Gua Sha is particularly effective because it targets the platysma and masseter muscles, which often hold tension from stress or teeth grinding. When using a Gua Sha, always apply a slip agent like facial oil first to prevent dragging the skin. The motion should be slow and firm, moving from the center of the face outward toward the ears and neck.

Timing Your Routine for Maximum Results
When you do a facial matters just as much as what you put on your face. Your skin barrier behaves differently at different times of day. Morning facials should focus on protection and hydration, while evening facials can handle heavier exfoliation and repair actives.
- Morning Focus: Keep it light. Use a gentle cleanser, a hydrating toner, vitamin C serum, and SPF. Avoid strong acids in the morning if you have sensitive skin, as sun exposure can increase sensitivity.
- Evening Focus: This is where the deep work happens. Double cleanse thoroughly. Use BHAs (salicylic acid) or retinoids here because they can make skin photosensitive. Follow with a rich moisturizer to support overnight cell turnover.
- Weekly Deep Clean: Schedule one full facial session per week. This is when you use steam, clay masks, and stronger exfoliants. Doing this more than twice a week can compromise your moisture barrier, leading to dryness and redness.
Common Mistakes That Ruin DIY Facials
Even with good products, technique errors can backfire. The most common issue is over-exfoliation. Many women think more scrubbing equals cleaner skin, but aggressive friction causes micro-tears in the epidermis. This triggers inflammation, making acne worse and accelerating aging. Stick to gentle motions and chemical exfoliants for consistent results.
Another frequent error is ignoring the neck and décolletage. The skin on your neck is thinner and has fewer oil glands than your face, making it prone to early sagging and dryness. Always extend your massage and moisturizing techniques down to your collarbone. If you want your face to look youthful, the transition zone between your jawline and neck must be smooth and hydrated.

Choosing Products Based on Skin Type
Not every facial works for every skin type. Oily skin needs lightweight, non-comedogenic formulas, while dry skin requires occlusive agents like ceramides and squalane. If you have combination skin, you might use a clay mask only on your T-zone (forehead, nose, chin) and a hydrating mask on your cheeks. Customizing the mask application prevents clogging pores in oily areas while preventing dehydration in dry areas.
Sensitive skin requires a minimalist approach. Patch test new products on your inner arm for 24 hours before applying them to your face. Look for fragrance-free options and avoid alcohol-heavy toners, which strip natural oils. A simple routine of cleansing, hydrating, and protecting is often better for reactive skin than a complex multi-step regimen.
Frequently Asked Questions
How often should I do a full DIY facial?
For most skin types, once a week is ideal. This allows enough time for your skin barrier to recover from exfoliation and masking. If you have very resilient, oily skin, you might stretch this to twice a week, but rarely more. Sensitive or dry skin may benefit from a lighter version every three to four days, focusing on hydration rather than deep cleansing.
Is steaming necessary before a facial?
Steaming is helpful but not strictly mandatory. It softens keratin plugs in pores, making blackhead extraction easier and allowing masks to penetrate deeper. If you skip steaming, ensure your cleanser is thorough. However, if you have rosacea or extremely sensitive skin, hot steam might trigger flushing, so a warm towel or a hydrating mist is a safer alternative.
What is the best tool for reducing facial puffiness?
An ice roller or a cold metal spoon is the quickest fix for immediate depuffing, especially in the morning. For long-term structural improvement, a Gua Sha stone used with upward strokes helps stimulate lymphatic flow. Combining both-ice for vasoconstriction followed by Gua Sha for drainage-yields the best results for puffy eyes and a bloated face.
Can I use kitchen ingredients for my facial?
While honey and yogurt are safe, many kitchen ingredients are risky. Lemon juice is highly acidic and can cause phytophotodermatitis (sunburn-like reactions) if exposed to sunlight. Raw garlic can burn the skin. Stick to formulated skincare products where pH levels and concentrations are tested. If you prefer natural, use certified organic oils like jojoba or rosehip, which are stable and skin-compatible.
Do I need to wear a hat after a facial?
If you used exfoliating acids or retinoids during your evening facial, you don't need a hat immediately, but you must apply SPF the next morning. Sun protection is critical because fresh, exfoliated skin is more vulnerable to UV damage. Wearing a hat outdoors adds a layer of physical protection, which is always beneficial for preventing hyperpigmentation and fine lines.